Farewell to Charr.

A bittersweet weekend.

It saw the departure of a landmark.

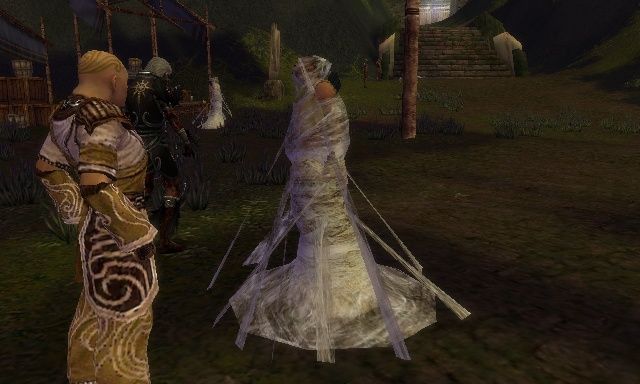
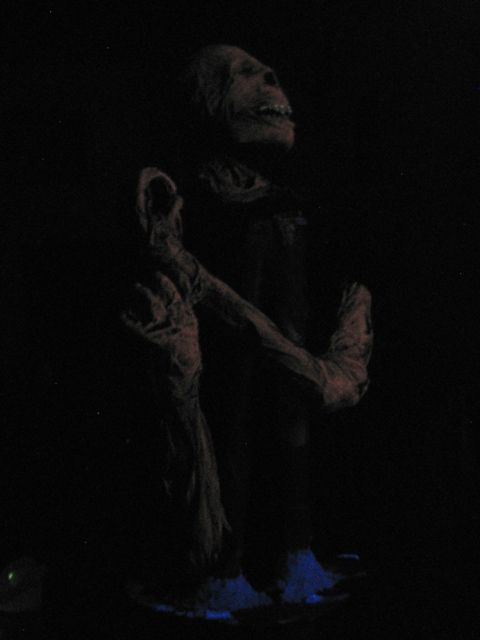
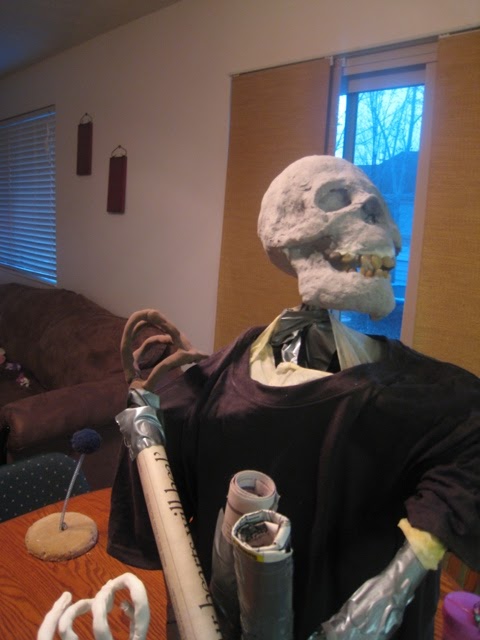
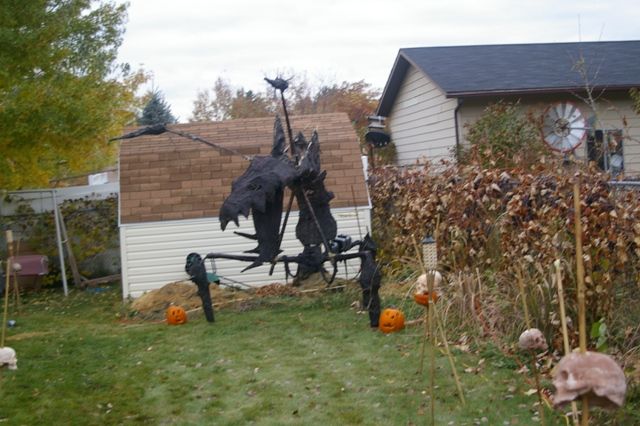
From Year of the Charr

Charr marked numberous landmarks for me. First segmented build. First use of burlap, which has become a staple. First use of conduit, which is also a staple.

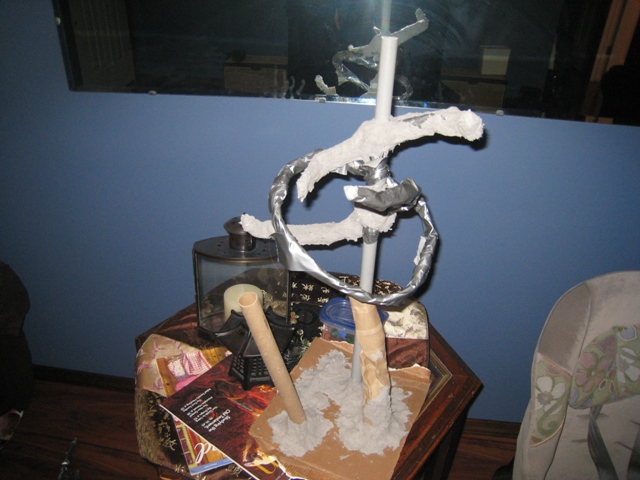
However, he was BIG. And took a sizeable portion of my available storage. So, it was early in the year that I decided Charr must go. I had plans to go in and salvage the conduit and anything else I could muster. Toyed with the idea of giving him one final year. But, he had to go.
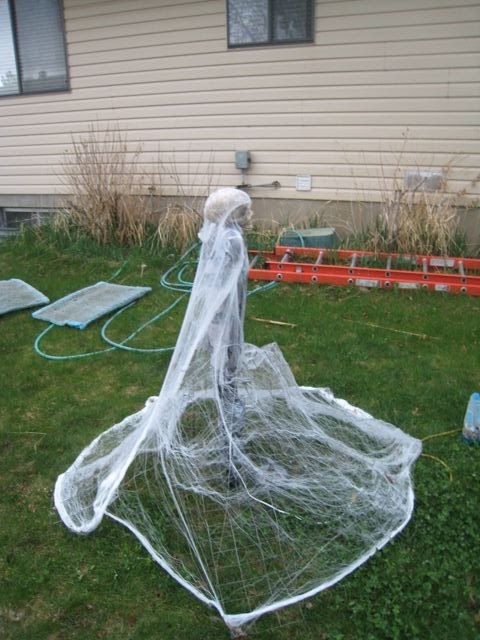
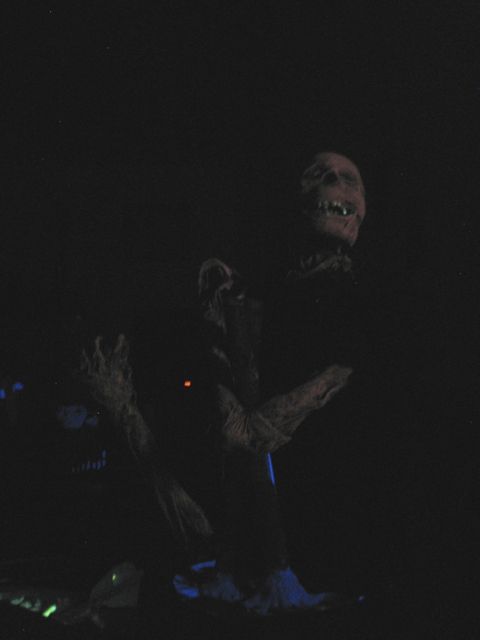
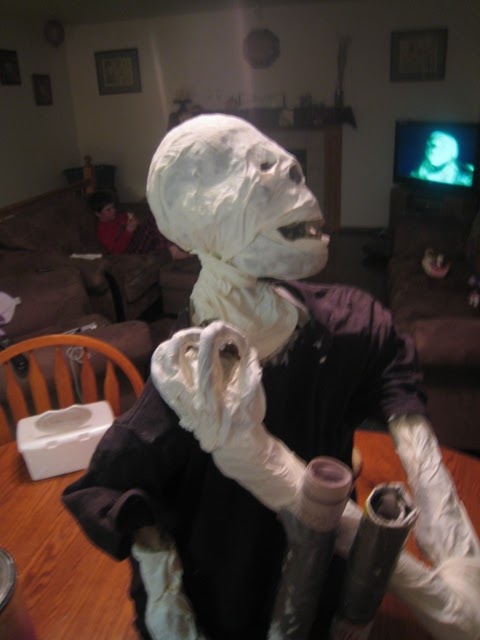
From Halloween 2009

Aside from Fred, no prop has garnered more comments than Charr.

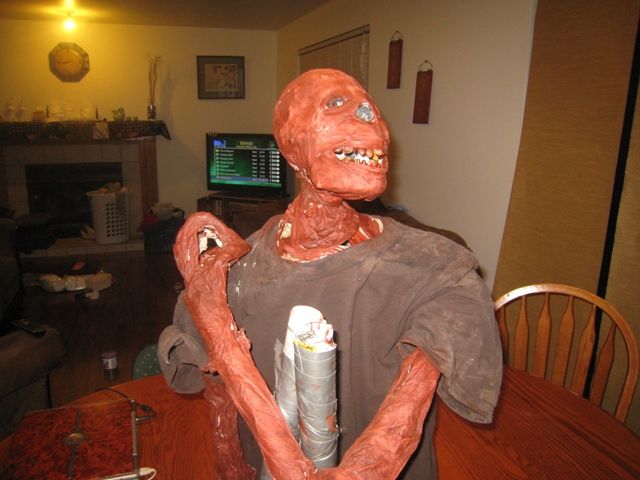
It was a hard decision to let him go. However, I am pleased that Charr will live on, he has simply moved considerably south, finding a new home in Diablo’s Dome, a new local haunt starting up this year. There he will join Steve, and a host of my skulls in providing entertainment.

Shortly, a brand new Chimera will be heading south to join them as well…

Then we’ll get back to our regulardy scheduled oddities.

Baby Cousin Bob.

So, we had talked of making THEM a little while back.

Well, since then, I made 2 copies of the body form out of paper mache, and it was time to test out and see if my idea for these things was going to have any merit at all.

See. When you are going about making the yard into a tribute to Spider Woman, you must have to assume the SPIDER portion is going to be making some bit of statement.

From the Steve mummies going to be draped in webs, I wanted something more sinister. Some VICTIMS. More recent victims.

Now, there’s lots of ways to make spider victims out there. And, they involve hanging webbed up corpses in various positions an occasionally animating them.

That would be fine for yards with roofs, or trees to hang things from. NOT for a yard that is one big flat patch o nothin. No, we needed something else.

Back to that olde source of inspiration for me, Guild Wars, for inspiration….and perhaps a new entry to the annual contest…

From 2010 Buildup

The plan was simple. Mutilate some Christmas animated deer. And make little Trick or Treaters to be my victims all done up.

So, Monday night, I went and made a quick test to see how this motor setup is going to work. And, after fiddling with the counterweight a bit, I indeed got it moving just fine. However, before I could grab a video camera, the weight fell off. (what did I really expect from a rock and some quick duct tape?)

And, since I REALLY was not interested in making it look good monday night, just testing the motor, I was frankly ashamed to take a photo of the crappy lookin thing.

But, with rain coming in, it was time to clean it up tonight. And, I snapped a quick one before I did. Yes, it looks like crap. Those are the stretchy webs I have no skill in the least at. The real things, I have a web gun and a web spinner we’ll be using in conjunction to actually make look decent.

From 2010 Buildup

Yes…it looks terrible. And unlike ANYTHING, really.

However.

I come in from cleaning up to find something interesting.

“You break baby cousin Bob!”

From 2010 Buildup

(EVERY skeleton is Bob…since we made…Bob.)

Failure.

Oh, don’t you just love failure?

It is in one’s nature to attempt to hide such things. But, I have a habit of putting them out on display.

Back in the days of building Charr, we had the whole fiasco with the legs. 4 failed configurations, and a bunch of $… before we settled in on what would become the final version.

Well, Steve 3 is an utter failure.

From 2010 Buildup

The IDEA was for Steve 3 to be less a mummy than he was a bindle of bones. Thinking something had gone wrong in the process or something along those lines…

It just wasn’t working. Too big, too ugly, not formed enough…

So, time to work out another plan.

From 2010 Buildup

No plans to make EVERY bone, but enough to portray the idea.

Go on failing. Go on. Only next time, try to fail better.
– Samuel Beckett

Time for me to fail at a new project.

Talia has named it “bear”.

From 2010 Buildup

>

I’m afraid my intended use for these is still secret…but I am going to promise a tutorial when they are done. (yes, they…)

Less is more: The importance of black

Alright. We’ve had something of a learning curve with this UV paint.

With our last shipment of paints from Wildfire, I also received a handy little booklet that was mostly just a catalog of their products, but also included some tips and tricks for utilizing UV paint and effects. And, with that was the importance of black. Which, in the UV world, means anything that does not fluoresce.

I had been going about Steve wrong, trying to keep adding highlights to bring out the details (as we would do with normal painting), when all it was doing was bringing us closer to white. The problem was, Steve never started from black. So, we are fixing that with Steve 2.

The base coat is some REALLY OLD red mahogany stain. Something about this stuff turns more and more red with age…This is our “black” coat, completely non-fluorescent, so no mixing with my paint colors to bring us closer to white.

From 2010 Buildup

From there, we did some dry-brushing of 2 slightly differing colors of UV paint. (Purple+yellow and Purple+green for 2 different tans under UV) I am much more pleased with the results.

From 2010 Buildup
From 2010 Buildup

I am still having some issues with the camera and colors, however. When I attempt closeups, the camera loses all color definition for some reason. But, that made for some really interesting pics…

From 2010 Buildup
From 2010 Buildup

I need to go fabric shopping from here. I’m not happy with how Steve 3 has been turning out, so we’re going to be starting over on him. I’ getting a little tired of the Steves, so I also think we might be looking to get going on another project soon.

Published
Categorized as Steve

Incan Steve

Steve 2 is well underway now.

I’ve been less than completely sold on the skull. I had wanted to make sure it was DIFFERENT from the original Steve, as the last thing I need is a number of identical faces. So, we tried our hand at free-sculpting one. Much like the last skull I sculpted, it was looking a little simian.

But, with the lower jaw set in place, I found it to look quite Incan. Which, is rather fitting.

From 2010 Buildup

So, it was time to add some skin again.

From 2010 Buildup

The legs are not getting skinned on this one as they will be completely covered with wrapping once he’s done.

The creepy grin just kinda happened…

From 2010 Buildup

Hand…

From 2010 Buildup

I’ve decided I really need to go buy me a blacklight flashlight to take with me when doing my fabric shopping. I want 2 different glows from fabric on this. I just don’t see the flashlight happening quickly, so gotta be guesstimating. Might do some tests at home…